Evening Guys & Gals

,
Today I really got after looking for engine parts . I made quite a few discoveries with the help of the old internet . Below is a list of Ford parts used on other Ford motors that will fit a Ford V4 104 Cu. In. motor :
Fuel Pump , Distributor cap and general tune up parts etc . Ask for parts for a 1971 Ford Pinto or Bobact 2000 CC OHC motor .
Pistons , Bearings, oil pump , valves and other internal parts should be the same as a Mercury Capri 159 cu.in. V6 - 2600 CC motor .
TRW also makes a
Aluminum Camshaft gear that will replace the "Bakelite" one that is stock . The replacement Camshaft gear is , according to the information I found ,to be 100% better .
The 104 Cu . Inch Ford V4 were also used in
Saab 96 and Saab Sonnets of the late 1960's early 1970's.
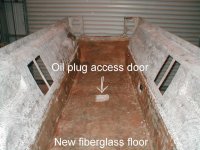
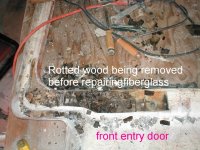
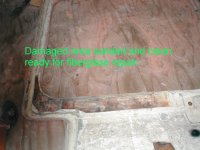
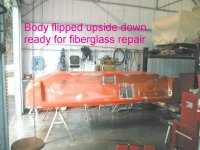
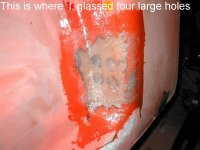
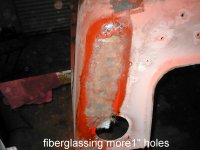
Today I glassed up the 4 major cracks in the body and started preparing the interior floor for another layer of fiberglass .
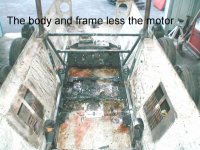
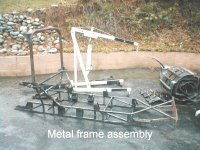
I had intended to lay the fiberglass layer over the outside of the body floor , but after thinking about it decided to install it on the inside . I have already ground out and glassed in any damaged areas to the outside floor area and it is basically done and ready for the Bed Liner spray. Putting the fiberglass on the inside will give me a good suface for reinstalling the metal frame assembly . I can also extend the glass up the insides of the body,gain additional structural strength and when the new interior is installed ,it will never be noticed . A hell of a lot less work too!!
In repairing the cracks and damage in the fiberglass, I first cut or ground out the damaged area . Rough up the surrounding area with 80 grit sandpaper on a disc sander . I did this on the inside of the body panel too . I also drilled a small 1/4" hole at the ends of any cracks to stop them from traveling any further .
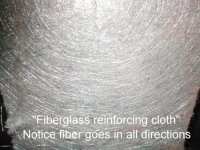
I then used a reinforcing type fiberglass cloth for any areas that needed structural strength . I started on the outside and applied a heavy coat of resin with a small cheap 2" (throw away) paint brush .On larger areas I use a "short nap" paint roller . I then applied my precut and fitted piece of cloth to the damaged area allowing it to overlap as needed and applied another heavy coat of resin ,bedding and brushing the cloth until all air bubbles were removed .I may need more than one layer to build up to the thickness of the orginal surroundind area . Apply only one layer a day . That's it ! Let it dry overnite and then repeat the procedure on the opposite side . If I am repairing a larger area and the cloth wants to sag in the hole or crack , I sometimes will tape a piece of cardbooard on the back side to keep it straight . I just leave it, and lightly grind it off before starting on the "back side fiberglassing" on the next day .
After The fiberglass has dried and hardened ,I use a Air sander with 40 to 80 grit sandpaper to take out any humps or bumps . I finish with a very light coat of Fiberglass "Kitty Hair filler" and sand until I have the desired results .Use a "sanding block" and not just your hand when sanding ! I cannot stress this enough if you want a good looking "finished repair" . I graduate up to 320 grit paper then primer/seal, sand with 400 grit and paint .
This may not be the way the body shops get it done ,but it has always worked for me with good results .
Tomorrow the inside floor gets glassed in . I'll take some pictures of that so you can see the finished result .

Big Al


 Silly neighbors can’t tell when I am kidding around . Told him to come on over and bring a 6 pack of beer . Also asked him if he had any Rum and Dr. Pepper .



 ,
,