
BigAl
Gone But Not Forgotten
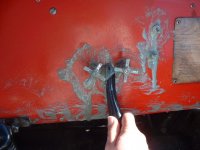
Has anyone ever tried these bolt hinges on a Snow Trac track? Seems like it would work better than overlapping and bolting the belting...
What did you use for a hinge pin and how is it secured?
I hope Bob does not mind me jumping in here .
The flexco kit comes with everything you need . I had to also buy the special sockett for mine . the hinge pin is nothing more than a 5/16 or 3/8 inch bolt with lock nut of the right length . I personally think they would work great on a Snow Trac and intend to use them when I rebuild mine .
 Anyone that thinks these "Hindges" are better than over lapping needs there head examined!
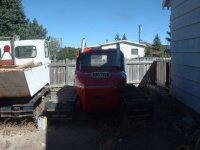
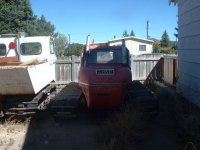
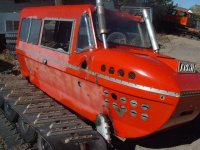
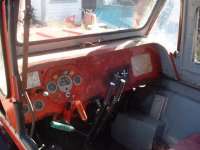
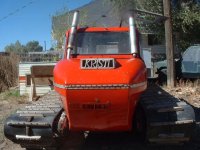
 Good news is the tracks work great and now Bob P can actually shift it into gear after some cleaning and greasing of the gear selector box. That was a messy job but the end results were unbelieveable! Next is to track down some Hydraulic leaks. BigAl we need those new hydraulic diagrams! Ok time to go back and loose some of this weight.


 VERY NICE!
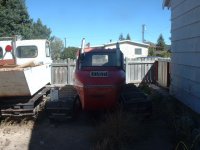


 ) posted some duct tape