We finally got around to picking out a few samples for the backsplash. We didn't want the boring plain white subway tiles that most people nowadays seem to go with. So we chose a few different styles as options.
View attachment 174581View attachment 174582
We are leaning towards the middle grey square tiles.
View attachment 174583
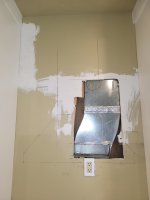
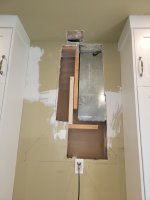
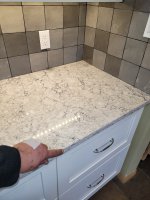
We have decided to hire someone to install the tile as even though I could do it, my back won't allow me to be crouched down bent over all day. Same goes for the range hood. I could do it but lately I can't lift my arms above my shoulders. So I informed she who must be obeyed that I can't do it. At least we have a functional kitchen.
The final doors arrived a few weeks ago and were installed.