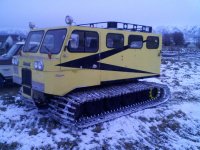
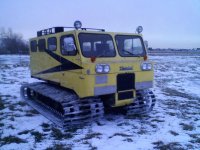
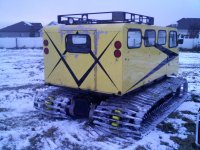
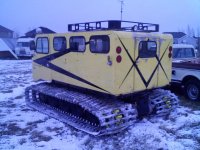
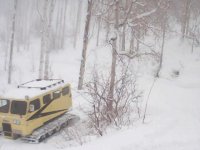
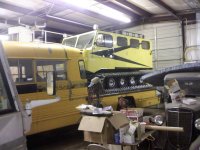
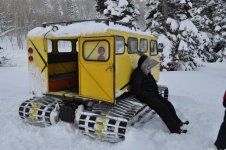
First of all we just got back from our third trip up to the cabin and are planning on going up next weekend for the 4day Martin Luther King Day weekend. Then the following weekend with 35 boy scouts. They had so much fun last year they asked to do it again.
So on with the details.
Removing bolts? You can’t swear enough and I’m not a swearing man!!! I did 1/8 of them in everyway I could think of. I’m not as good with a torch as my brother but I cut 7/8 of them off with the torch that’s about 1000 of them. All I can say is have a good time in figuring out that one.
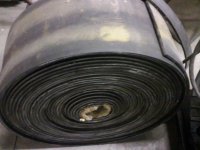
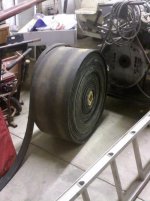
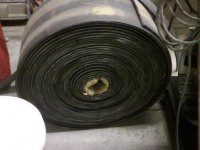
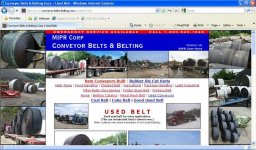
I bought enough belting to do the Snowcat 3 times over. Hallelujah!!! I will never have to buy, hunt or look for that again in my life time. It was from a surplus belting company back east somewhere. I can’t find the name of the company right now for sure. Attached you will find a company, not sure if this was them or not. I didn’t think they were this far from Utah looks like they are in Maine somewhere.
It cost me more to have the belting shipped then it cost to buy it, I remember that. With shipping it was about $1500.00 from what I remember? Regardless it was much cheaper then buying it from any snowcat repair parts companies around, not to mention any names here. New ready to go pre-punched they run about $2500.00 in 2010 for a set of 72 hole, 4 belts per side, 5” wide, three ply. It appears 3 ply is the newer stuff because the cords today are said to be much stronger then the older 4 ply.
Don’t let people scare you about belting it’s not rocket science, not to say that there isn’t four million different belts and opinions out there. Just saying this will get people going about belting. I used ½” this is thicker then needed, older 4 ply belting, but the price was right!!!! The work of doing this is the killer as I have said before. This is more work then most people are willing to do. But I’m cheap and have always been cheap.
Cutting the belting is easy, doesn’t take allot of time about 3~5 hours I would say. That would be to do all of it, 8 strips. I used a very good worm gear type skill saw with a side cut guide set at 5 inches. Then just keep the guide against the rubber and rip it. I went longer then the 72 holes. I went 76 holes, better to be longer then short. You can use a very very strong table saw, this is what I used for my rubber track inserts. This was not easy on a table saw it kept tripping the over loads on the motor but it did work. Table saw was much slower to, and harder to handle the belting. With the Skill Saw you just lay it on the floor, place a wood 8 foot 2x4 under the place you are going to cut and letter rip.
You will have some good black boogers if you don’t wear a mask, even when you’re just drilling the holes. If it’s smoking you are not cutting, check your blade sharpness or alignment or your binding things up. I used a standard carbide wood ripping blade, nothing special.
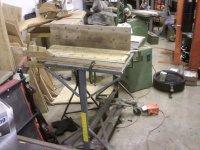
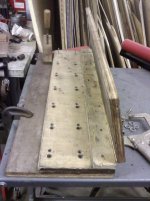
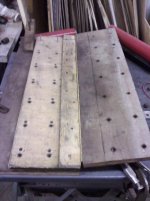
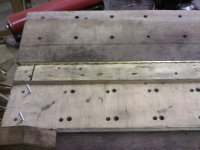
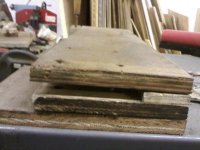
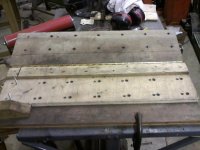
I made a wood jig up with a hinge on it and two smaller the ¼“ bolts to over lay the belting in the previously drilled holes to keep the hole right every time. (see pictures) The holes need to be right on the money, no room for error here!!!! Holes take longer then cutting you belting into strips, a good 8~12 hours. But still nothing compared to bolting everything to gather.
Special NOTE HERE!!!!: I feel this to be very very important even though I just lucked out when I did it and would definitely do it again.
When drilling your holes use a bit that makes it very very hard, but still possible to push in your ¼” grade 8 bolts. Why you ask? When you go to lining up your grouser/belting/backing plate the tight hole allows you to drill the bolt in using its own threads on the bolt or press it in with your thumb. Then your track will also free stand up on it’s side without a single nuts on the back side. You can put your nuts on with your backing plates when you are ready later. But don’t kill your self having the hole to tight, meaning don’t drill ¼” holes that is to tight. Just make it very hard to press the bolt in with your thumb. The 3~4 ply belting when drilled will have raged holes. You will soon find out that in using a air/electric drill or die grinder with a 7/16” 6 star shallow socket runs those ¼” bolts in thru the rubber and grouse really nice, easy and fast. This tight hole holds everything in place to add the additional ¼” nut and backing plates later (this being your last step).
One of the other most valuable important tools in my book is what I call a toad sticker. It’s a ¼” or close to it long shafted screw driver with the point ground off to a point. You can just use a Phillips screw driver also with out grinding it, but when lining up 1152 ¼” holes anything that lines something up better, faster and quicker cuts down on allot of time, work and frustration.
I hope this help you and others a little.
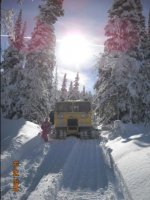
I can’t tell you how good it feels compare to last year, to be going in four gear and then realizing your are at 3500 RPM down hill with your family having to pull on a right or left hand stick to slightly change your direction with a cliff on your right, knowing that all your running gear is in excellent working condition. It feels so good to have confidents in your design, engineering, workmanship and abilities. I only thing I ever questioned was the rubber inserts. I have been on Cement. Asphalt, Ice, Packed snow and Powder. At this point would change a thing!!! I’m loving it!!!
Long Live Thiokol, Go Thiokol Go!!!
/rk

