bkvail
New member
wow! this is gonna be a $100K cat when it's done! Love to see the updated pics as you work ")
My husband did a 'brushed' look on the dash of his cat - used a drill and a small brush/sander on the aluminum and made overlapping circular brushed marks on his dash - not original, but it looks cool I think")
My husband did a 'brushed' look on the dash of his cat - used a drill and a small brush/sander on the aluminum and made overlapping circular brushed marks on his dash - not original, but it looks cool I think

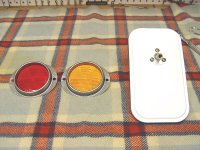
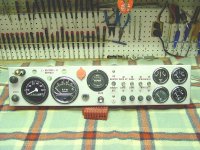
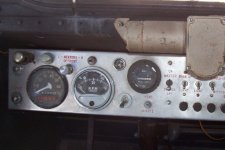
 Attached to show contrast.

![IMG_0139[1].jpg](/data/attachments/18/18664-e07badd7c824b1faee55d5240cdc7dd3.jpg?hash=4Hut18gksf)

 O by the way you missed another one....