• Please be sure to read the rules and adhere to them. Some banned members have complained that they are not spammers. But they spammed us. Some even tried to redirect our members to other forums. Duh. Be smart. Read the rules and adhere to them and we will all get along just fine. Cheers. :beer: Link to the rules: https://www.forumsforums.com/threads/forum-rules-info.2974/

DMC 1450 s/n D1C-1501 - Custom Build - by Nikson

Nikson

Bronze Member
:wow:so the build/work/fabbing - whatever you want to call had taken its first step...

for anyone who isnt familiar with my previous work - see these threads

Thio 1402 OpenTop build

http://www.forumsforums.com/3_9/showthread.php?t=58427

Cushman Trackster resto

http://www.forumsforums.com/3_9/showthread.php?t=65000

So, as they say - LETS GET IT ON...
===========================

This was the way I got it from another member on FF in North Dakota in January, 2014

IMG_9642.JPG


for anyone interested in detailed pictures of the cat, for any type of reference on your own build - here is a link - I hope extra effort for taking pictures is appreciated and useful - since I could only say that I LOVE ALL OF YOUR PICTURES in much detail, being how helpful they are a lot of times during any kind of work on these rare machines.

https://picasaweb.google.com/106699530132893677699/DMC1450Snowcat#

Bringing it home to the garage to start the work...

1%2520%25286%2529.JPG


Full cab top removed - process started...

1%2520%25281%2529.JPG


1%2520%25282%2529.JPG


Personal preference to the way I work with similar project had lead me to decision of complete remake of the cats cab, possibly modifying the frame to extend track 1ft front & back, hoping to keep everything on the lighter side of things by going aluminum mostly... as well as doing torsion axle upgrade on the full size trailer-type wheels (similar to Spryte's suspendsion), removable camper style setup on the rear cab (like it was on the 1402 with some upgrades).

Well - lots of work ahead - feel free to subscribe - this should be fun...

Hoping to finish this project by this winter, and be able to attend all of the snowcat get togethers... :)
 
Cab removal / accessories

Slowly n surely... work goes on...

Removed windshield frame & front clip with heater.

Next will be fuel tank & engine compartment.

some wiring stuff from behind the gauges (figured might be an interest to some for w/e reason)

1%2520%252822%2529.JPG


and this...

1%2520%252834%2529.JPG


so here is a link for the build - I'm guessing it will come useful for some as well...

https://picasaweb.google.com/106699...0CUSTOMRESTORATION?authuser=0&feat=directlink

so process is ongoing, and probably for a little while... :clap:

1%2520%252841%2529.JPG


1%2520%252842%2529.JPG


one thing I'm sure about - I SUCK AT RESTORATION - cuz I just cant deal with all the rust/worn/beat up parts

068.JPG


found the radiator to be a curious one - 3 1/2 inch thick

:wow:

069.JPG


so these are off - and up for sale to the highest bidder...

071.JPG


until next time - cheers!!! :beer: :beer: :beer:
 
Another day or I should say a night in the garage...

Trying to get the most out of these hot summer days - not too comfy with all of the heat...

Fuel tank removed - this is what the gauge looks like, its a VDO too...

2014-07-30%2520%25284%2529.JPG


Rear cab heater - removed the fan assembly w/cover (for sale)

2014-07-30%2520%252813%2529.JPG


radiator is in good shape, doesnt look like there are any leaks...

2014-07-30%2520%252815%2529.JPG


Fuel tank was pretty simple to remove, once I drained all of the fuel inside it (got a lot lighter) :smile:

pretty simple shut off valve on the bottom... made it easy to drain off most of the excess.

2014-07-30%2520%252822%2529.JPG


Ever since purchase, had some issues with the driver's side master cylinder leaking, having to add fluid all of the time...

here is a proof I guess... at least brake fluid prevented some of the excess rusting...

2014-07-30%2520%252823%2529.JPG


radiators are out - going to take them into a local shop for pressure testing and a flush...

2014-07-30%2520%252828%2529.JPG


rear end - seems "wet" ha?!

2014-07-31%2520%25282%2529.JPG


considering to take the motor in for a rebuild - what do you guys say?

Whats a best way to approach this? Any suggestions? or follow the concept of "dont fix it if its not broken"?

Ideally my goal is to make this thing shine as much as I can, without any "wet" spots...

Pretty bad looking water pump assembly... wonder if that engine been ever washed/cleaned in its 30+ years...

2014-07-31%2520%252813%2529.JPG
 
as for rebuilding the motor if you can afford it I think it would be money well spent to do it now, at very least I would do all the gaskets and seals. knowing the quality of the early oils in the 70's and 80's I think a hot tank would do wonders for all the tin. remember if you have a ford with condensation in the oil you have a pcv system malfunctioning usually caused by a gasket leak some place. once a ford gets condensation in the system it seems impossible to get it out with out removing all the tin and cleaning it up.
 
as for rebuilding the motor if you can afford it I think it would be money well spent to do it now, at very least I would do all the gaskets and seals. knowing the quality of the early oils in the 70's and 80's I think a hot tank would do wonders for all the tin. remember if you have a ford with condensation in the oil you have a pcv system malfunctioning usually caused by a gasket leak some place. once a ford gets condensation in the system it seems impossible to get it out with out removing all the tin and cleaning it up.

Thanks for advice... Will keep that in mind...

I think I should be able to mostly do my own type of rebuild on the engine, since replacing seals & gaskets aint that much work (IMHO) :)

I've done it before... just time consuming...
 
and so it continues...

more pulling things apart, more tear down...

Masters seemed to have their "life" braked out of them... LOL

Turbinator suggested to just go with a new unit, which is similar to those in Ford Econoline Vans back in 1966, units sell on eBay roughly for about $80...

Can anyone else confirm that these are the same as on 1402/1404 models, or they are different?

2014-07-31a%2520%25286%2529.JPG


and removal of the other misc. stuff...

2014-07-31a%2520%252815%2529.JPG


slaves are in the best of shape most likely either... being all wet around the rear end...

2014-07-31a%2520%252825%2529.JPG


interesting anti-freeze heater (or whatever you call it - block heater), this unit is separate from the engine, not in the actual block... Its on the side, and just has inlet/outlet hoses that go to the cab heater. Not sure how it actually kept everything warm, being that its in a closed circuit.

2014-07-31a%2520%252829%2529.JPG


next were the tracks...

2014-07-31a%2520%252841%2529.JPG


overlooking driveline removal

2014-07-31a%2520%252844%2529.JPG


getting the leafs was close to impossible without having to cut off few of the u-bolts... just plain rusted, in addition to some of the nuts been simply welded to the actual bolt... I guess thats pretty "vibe-proof" and works better than locktite... :)

2014-07-31a%2520%252847%2529.JPG
 
more track stuff...

I wanted to "remember" as well as considered that someone might want to know these numbers...

overall track width and some other dimensions are out online in the pdf catalogs of the imps, but these numbers arent always readily available...

2014-07-31a%2520%252861%2529.JPG


"safety number one"!!! - notice my "steel-toe" slippers... :w00t2::w00t2:

2014-07-31a%2520%252863%2529.JPG


2014-07-31a%2520%252865%2529.JPG


got the feel that my driver side was narrowing in a bit at the front, one by one, all of the center's of the wheels ended up being close to 1/2 inch inside, vs the rear end (sprocket's measurement).

2014-07-31a%2520%252866%2529.JPG


rear end's center to center measurement - seems to be about 46inches

2014-07-31a%2520%252868%2529.JPG


getting rear end out was not a difficult task, but those upper 3/side bolts were not an easy job even with an impact... middle one had a nut that you would need to hold with a wrench from the inside (as in having to open up the rear end from the top...

axle shaft came out pretty easy after removing the bolts through the hub...

2014-08-02%2520%25282%2529.JPG


I was like "YEAH... we are IN!!!" :yum::yum::yum:

2014-08-02%2520%25288%2529.JPG


here you can see the upper (each side) 3 bolts/nuts... side ones are held (welded onto) by the bracket thats from inside of the diff.

2014-08-02%2520%25289%2529.JPG


2014-08-02%2520%252810%2529.JPG


quick visual inspection showed that everything was good, and seems like even brake pads still got plenty of life in them.....

Although, being that its out and open, I'm most likely going to send them to Pat to have them redone.
 
Re: DMC 1450 s/n D1C-1501 - rear end

So... here is something...

is that a normal procedure to grind off some of that diff case from inside to fit the gears in???

2014-08-02%2520%252813%2529.JPG


2014-08-02%2520%252814%2529.JPG


2014-08-02%2520%252815%2529.JPG


So... until next week sometime...

Taking the family out to a houseboat for few days on the lake Shasta in Cali, I heard its gonna be hot out there... :w00t2::w00t2::w00t2:
 
After seeing the master cylinders clearly, they do not appear to be the same as those in the 1402/1404. Does anyone know want they might be equivalent to?
 
"Lets get back to our chickens!" as my brother says...

So, busy summer it was, with some trip here and there...

Got the frame to sandblaster's while out in Colorado/Utah this September.

IMG_3286.JPG


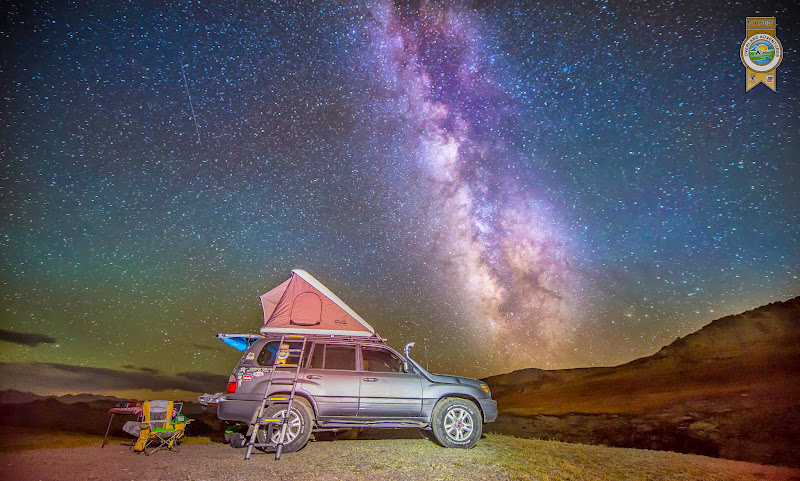
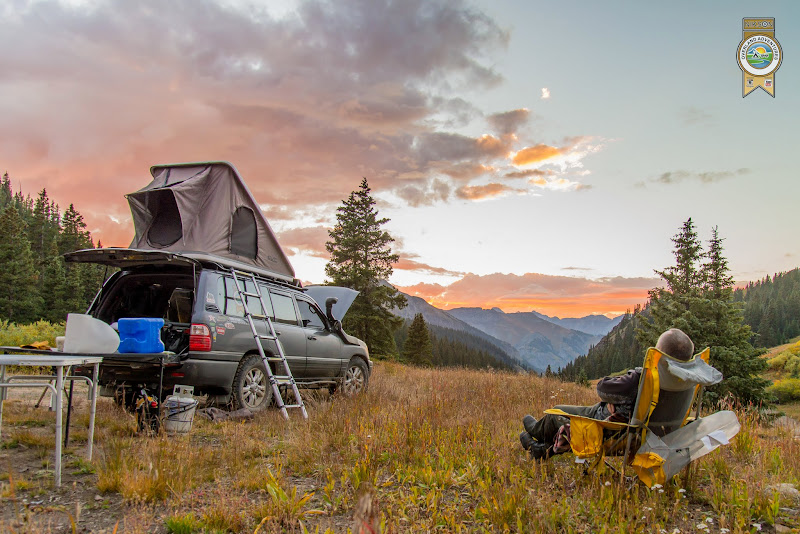
Got to see some amazing scenery, I wonder how these passes look in the winter. Was overlanding around Telluride / Ouray / Silverton.

Night over at Black Bear Pass

DSC_5125.jpg


views were amazing as I've ever seen before

DSC_5509.jpg


Sunsets were like nowhere else...

DSC_5922.jpg


Fall colors, some old cabin off Hwy550 - Million Dollar Highway...

DSC_6029.jpg


and a last one to complete this area was from the Last Dollar Mountain, with a fence view... one of my favorite photos that I took and had Costco make a wide canvas...

DSC_6091.jpg


once got home, Vlad & I started ripping the engine apart and going through inspecting various parts, seeing that we already had the engine out, I figured it would be a worthwhile idea to go through it.

In the end - all gaskets replaced, head cleaned/hot washed/resurfaced, pistons cleaned, crankshaft oil rings checked, all seals replaced... well and from part to part to paint.

back in August, once the engine was out - it got property cleaned from outside

2014-08-18%2520%25284%2529.JPG


part by part

IMG_3140.JPG


rear end will need a good cleaning and seeing what all needs to be updated on seals & gaskets, with a fresh coat of paint

IMG_3147.JPG


Alternator got an upgrade from original 50A to 100A, figured it was worth the cost being that I plan to run extra electronics vs how it used to be

IMG_3200.JPG
 
Here is something to start up the deal...

For anyone attending the event at Timberline on Mt.Hood this spring, could see more of these cool pictures...

2014-11-01%2520motor%2520restoration%2520%25282%2529.JPG


going to keep things close to original if possible

Valve cover just cleaned and clear coated, without actual repaint

2014-11-01%2520motor%2520restoration%2520%252816%2529.JPG


I figured some will better like this, rather than painted black/or blue

2014-11-01%2520motor%2520restoration%2520%252815%2529.JPG


2014-11-01%2520motor%2520restoration%2520%252819%2529.JPG


tranny pan was "redone" really not to my liking by previous "whoever", thus I figured I would re-do to my different standard

2014-11-01%2520motor%2520restoration%2520%252836%2529.JPG


2014-11-01%2520motor%2520restoration%2520%252838%2529.JPG


cleaned her up

2014-11-01%2520motor%2520restoration%2520%252842%2529.JPG


lets weld instead of bolts... :)

2014-11-01%2520motor%2520restoration%2520%252844%2529.JPG


2014-11-01%2520motor%2520restoration%2520%252846%2529.JPG


cleaned off the block / paint prep

2014-11-01%2520motor%2520restoration%2520%252848%2529.JPG


was vs IS comparison... was advised by machine shop that rubber in the harmonic balancer was in good shape, and exterior condition wasnt going to effect its performance in the long run

2014-11-01%2520motor%2520restoration%2520%252857%2529.JPG


Tranny pan

2014-11-01%2520motor%2520restoration%2520%252863%2529.JPG


as of today looks like this...

2014-11-01%2520motor%2520restoration%2520%252866%2529.JPG


picked up the head this morning, so plan on having even the valve cover put on tonight possibly...

Wish me luck... :)

2014-11-01%2520motor%2520restoration%2520%252867%2529.JPG
 
nick as you go through the oc-12 keep track of the seal numbers I need to replace the seals in the front where the band shaft's go through the front also I ditched the paper gasket and used gm duramax silicone on the top cover and as of yet it has not come loose again.
 
and a last one to complete this area was from the Last Dollar Mountain, with a fence view... one of my favorite photos that I took and had Costco make a wide canvas...

DSC_6091.jpg


Great photos! I just recently moved up to a DSLR and have had good luck with Fed Ex/Kinko's making my poster-sized prints. Better pricing and customer service beyond "if it's not on the list we can't make it".
 
hi Nikson, did you happen to check your pan for leaks after you welded? maybe like filling it with paint thinner or gas to see if it comes through any porosity?
Looks good!!!
Dave
 
Bravo!!!! You give me inspiration to put some time in my Snow-Trac and "do it right the first time". Or drive the Sh*t out of it until it breaks, i have not decided.
 
akimp I put a lot of sweat into my snow trac where it counted some day when the kids are gone I might get to do a restoration on the caliber of weatherby or Big Al. as for now it's one color and will get me there and back with out breaking down and do it inexpensively that is what counts.
 
nick as you go through the oc-12 keep track of the seal numbers I need to replace the seals in the front where the band shaft's go through the front also I ditched the paper gasket and used gm duramax silicone on the top cover and as of yet it has not come loose again.

Will keep in mind.

Seems like my rear end was pretty dry by the seals, I dont believe any of them actually leaked badly, and a little sap never hurt anyone, just gives another reason to "look things over" and not just forget about them.

So far hoping to have everything in place, when purchased, seemed like there were plenty of spares included, I'm hoping to find whats needed there, rest I'm sure SpryteImprovement folks will have...
 
Top